

“No makeup makeup. One of the trends that overwhelms the catwalks every season! It’s about bringing out the natural beauty through absolute simplicity. Youthful glowing skin, juicy lips, rested eyes with a clear look, rosy cheeks... And as the term “no makeup-makeup” itself indicates, the interventions of the makeup artist should be invisible. The aim is to show that the face reaches perfection without a trace of makeup!
Beyond the catwalks and fashion shows, however, I can tell you with certainty that this look is one of the most loved by women worldwide . Including of course myself!
Both as a woman and as a make up artist, I have discovered that there is great magic behind this technique. It’s the magic of being able to go back in time to the point where there were no worries, dark circles and pallor. We all become a little happier when we see ourselves in the mirror like this.
By picking up a brush, which I jokingly call a magic wand, you dust off the tiredness, refresh the mood and reach the illusion of “This is how I wake up in the morning” at its peak!
But what are the secrets to creating the perfect “no makeup-makeup”?
For starters… THE SKIN!
- Hydration, Hydration, Hydration, Hydration
In all makeup, let alone this one, the skin is the factor that will determine whether your result is a success.
The look you are called upon to achieve is bright and restful, like after a good holiday sleep!
Hydration for this purpose is the be-all and end-all.
So start by moisturizing the skin. Pay special attention to the eye area as well. It is important that there are no dehydrated spots on the face, as this makes the skin dull and the makeup uneven. Prefer to work with more watery products when you plan to apply makeup directly, as they have better and faster absorption. If necessary, repeat the hydration in dry areas before proceeding.
The rule of thumb is that the more well hydrated the skin is, the better and more even the result will be and the longer it will last.
- Primer
A good quality primer is the cornerstone of excellent skin appearance. It has the ability to “fill” dilated pores and smoothes the skin. It helps the foundation to “layer” better and remain intact throughout the day.
Also, a primer with light pigmentation can be a great ally in discolouring skin conditions. Especially when the amount of foundation you are going to use is minimal.
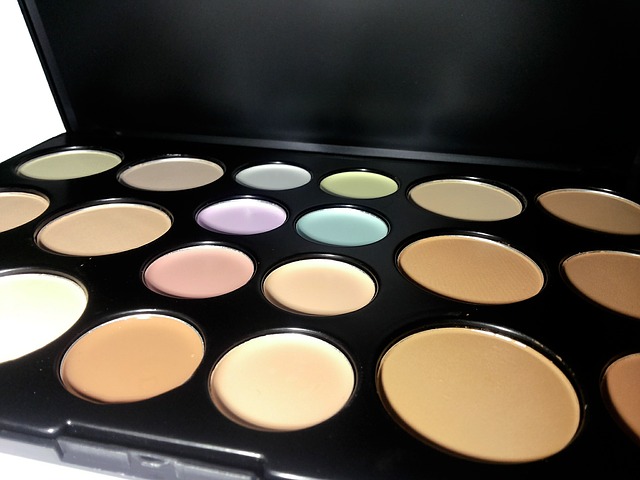
The shades you will find available (green, yellow, lilac and peach) are used as follows:
GREEN: neutralises red tones
YELLOW: neutralizes purple tones
LILA: neutralizes yellow tones
RODAKININ: neutralizes blue tones
extra tip : Give the skin you are working on the time needed to absorb the moisturizer and primer properly. If you rush, you may end up with a “muddy” base that will hardly become uniform.
- Foundation
At this point I will reveal one of my favorite tricks… Mix the moisturizer with the foundation!!!! The result is light years away from putting the product on the skin as it is. The base comes out transparent, while retaining its opacity. The face seems to be butchered by health, without it being visible that you have interfered in any way.
Personally, I work this way on all the bases I create. As a result, my makeup looks become more elastic and long-lasting.
The ideal ratio for a “no makeup-makeup” result is 1/3 foundation and 2/3 of the moisturizer of your choice. In any case, the amount of foundation used should be the smallest possible (half a peanut!).
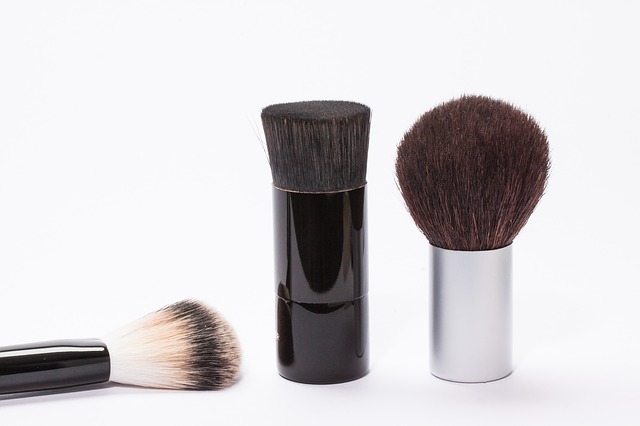
For perfect placement, use a kabuki brush and tamponading movements. Pay great attention to the hair extensions and the area under the chin to avoid the “mask” effect.
Extra Tip: Primers and foundations are divided into water-based and silicone-based. Prefer to combine products that consist of the same base as they work better together.
Those mats of yours…
- Cector
Small quantities are your best friend here too. Start with the right concealer in proportion to the pigmentation you have to deal with in the area under and around the eyes. The logic of choosing a colour to counteract dichromes is the same as with primers. Work with a fluffy blending brush directly on the affected area, slightly blending out the colour at the ends..
- Concealer
Continue by applying concealer with the same fluffy brush, paying special attention to the inner corner of the eyes. This is where the biggest problem is usually found. The shade you choose should be at least lighter than the skin color. Koala eyes, with their two and three tones lighter concealer, are now, thankfully, a thing of the past. Start with the amount of one tiny drop and add more product locally where absolutely necessary.
- Mascara
It goes without saying that a clean and intense look could not be missing for your makeup to be considered complete. This is where mascara comes into play. Clearly you can use the widespread black version. However, try replacing it with a clear eyebrow gel for well-coiffed lashes that look unpainted.
extra tip: Work the mascara brush in a twist! From the underside of the eye, and while the eye is closed, start from the root and work towards the edge of the eyelashes. This way they get more volume and volume!
Stone cherry lips…
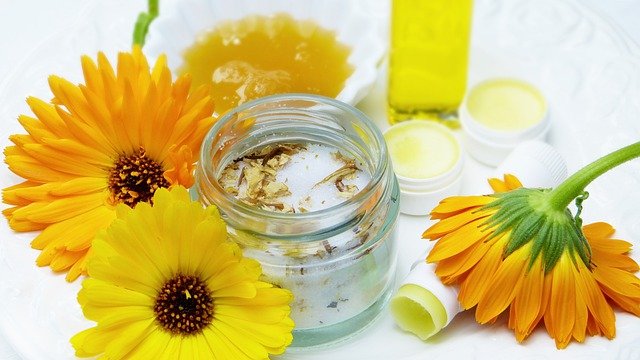
A great choice for juicy lips that complement this look harmoniously is a moisturizing lip balm.
Whether you choose one that is completely transparent or has a light shade, the point is the same! Hydrated lips with an unpretentious look.
And apricot cheek!
What is the ultimate sign of freshness, youthfulness and vitality, if not rosy cheeks? Opt for liquid blush in peachy shades as it looks more natural than powder. Place it on the apples of the face, blotting it facing the cheekbone and slightly downwards.
A perfect way to imitate the natural blush that the face makes when it is healthy and rested!
extra tip: Never place a liquid blush brush directly on the face. It’s quite possible that you’ve got more than the desired amount in your brush, and you end up with a beautiful stamp. Try leaving excess product on the back of your hand, on a palette knife or on some paper before you start working.
Rico rico rico rico!
As a final finish, you can add a subtle glow product to the bones of the face, to make it look more contoured and highlight its natural angles! Use a fan brush for this purpose, so that you can have precision and good control over the amount.
Now you know my secrets.
And always, if you need more information, you can always consult me and ask me! I’ll be happy to answer you!
Good creations!
Myrto Departez
